
Last updated October 9, 2026
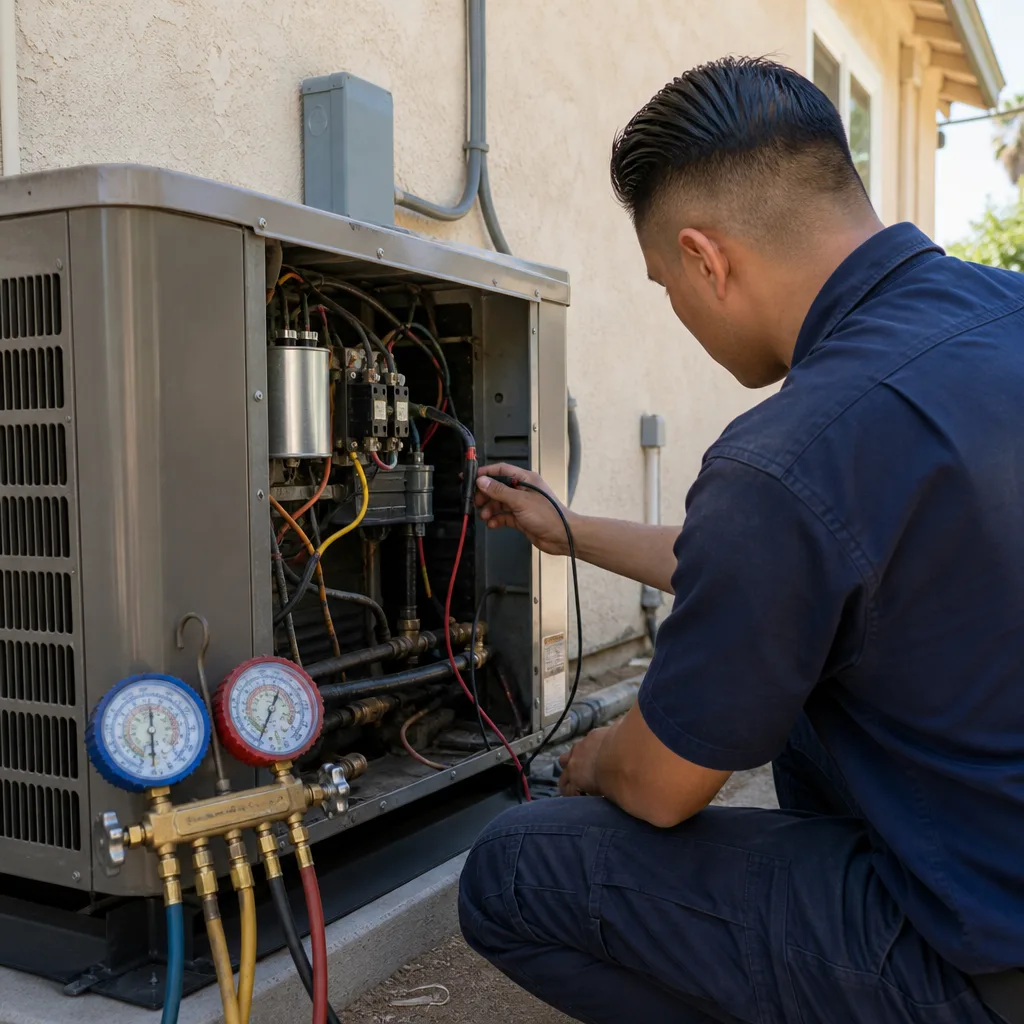
Seasonal tune-up and full diagnostic on your Carrier, Trane, or Goodman system - readings shown to you before any repair is proposed
Diagnosis first, numbers second - you approve the repair price before a single part goes in.
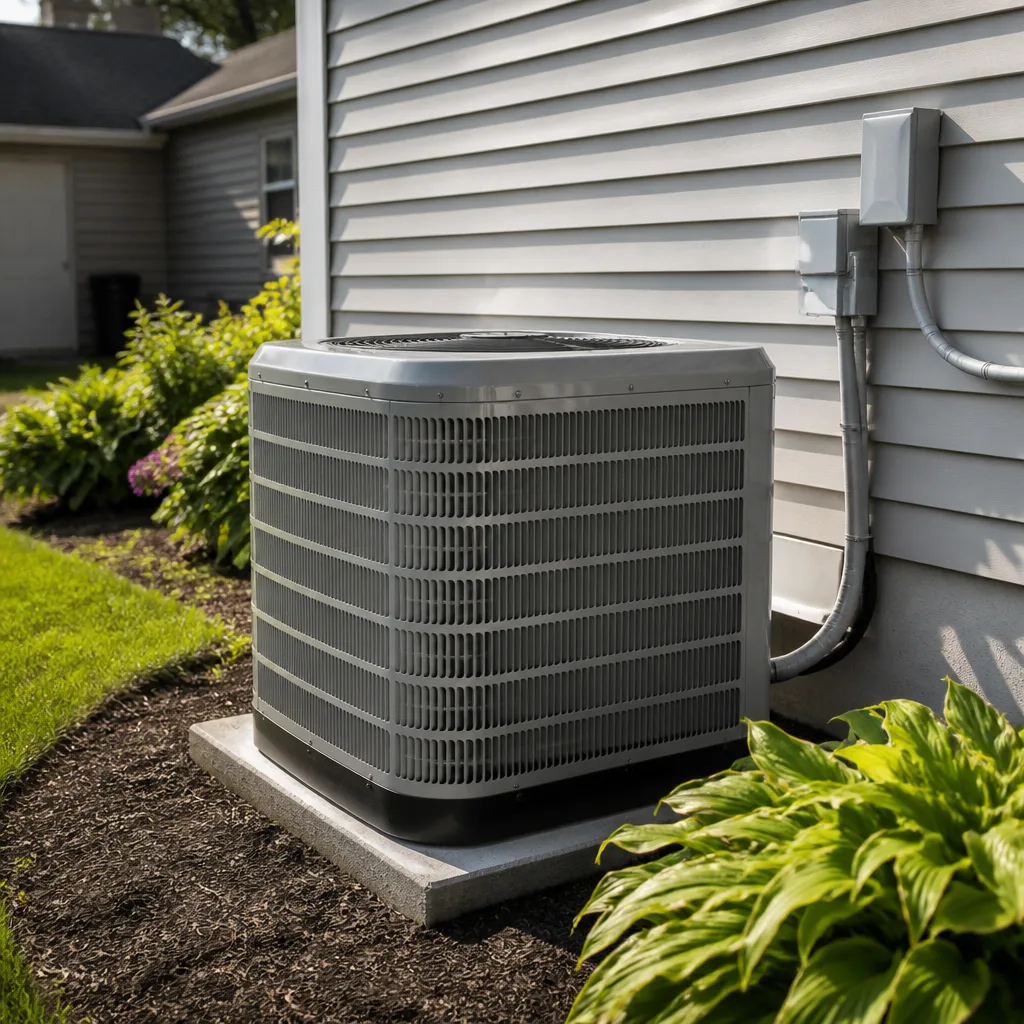
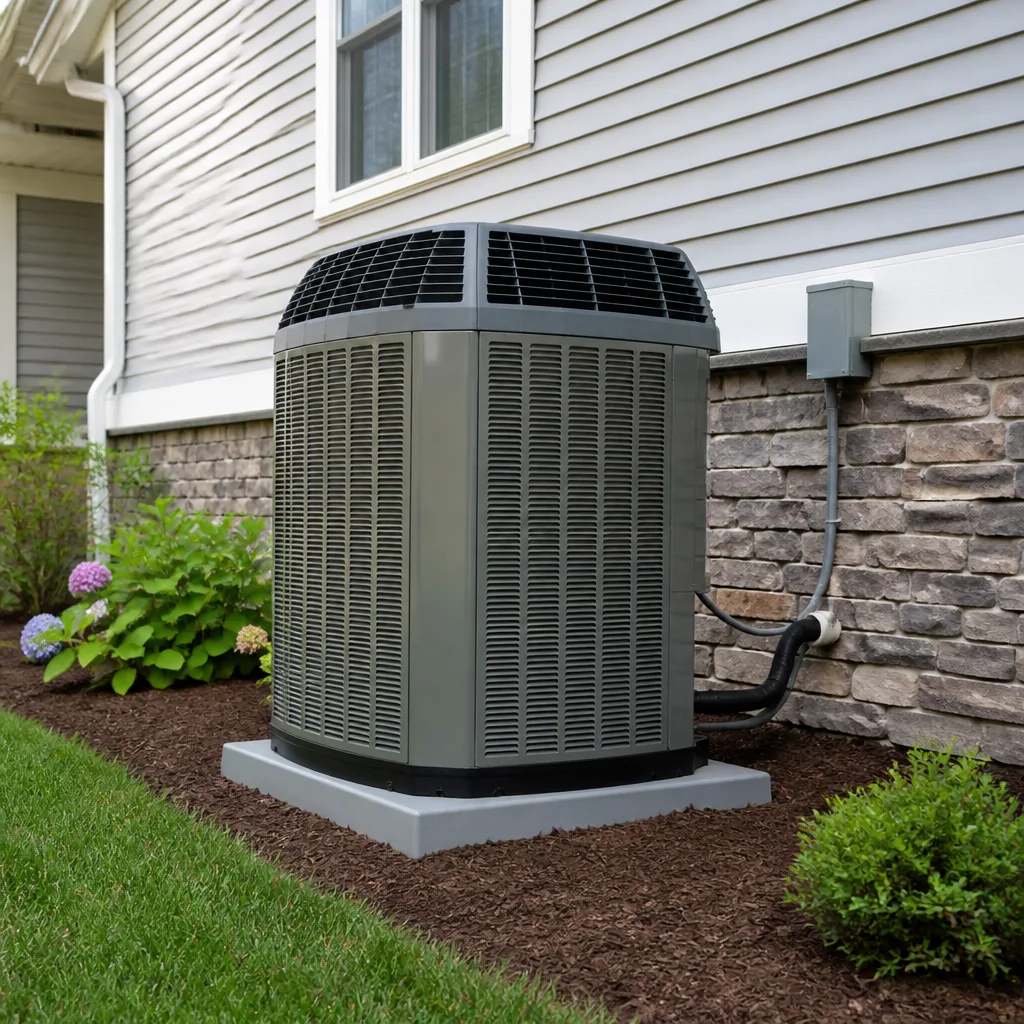
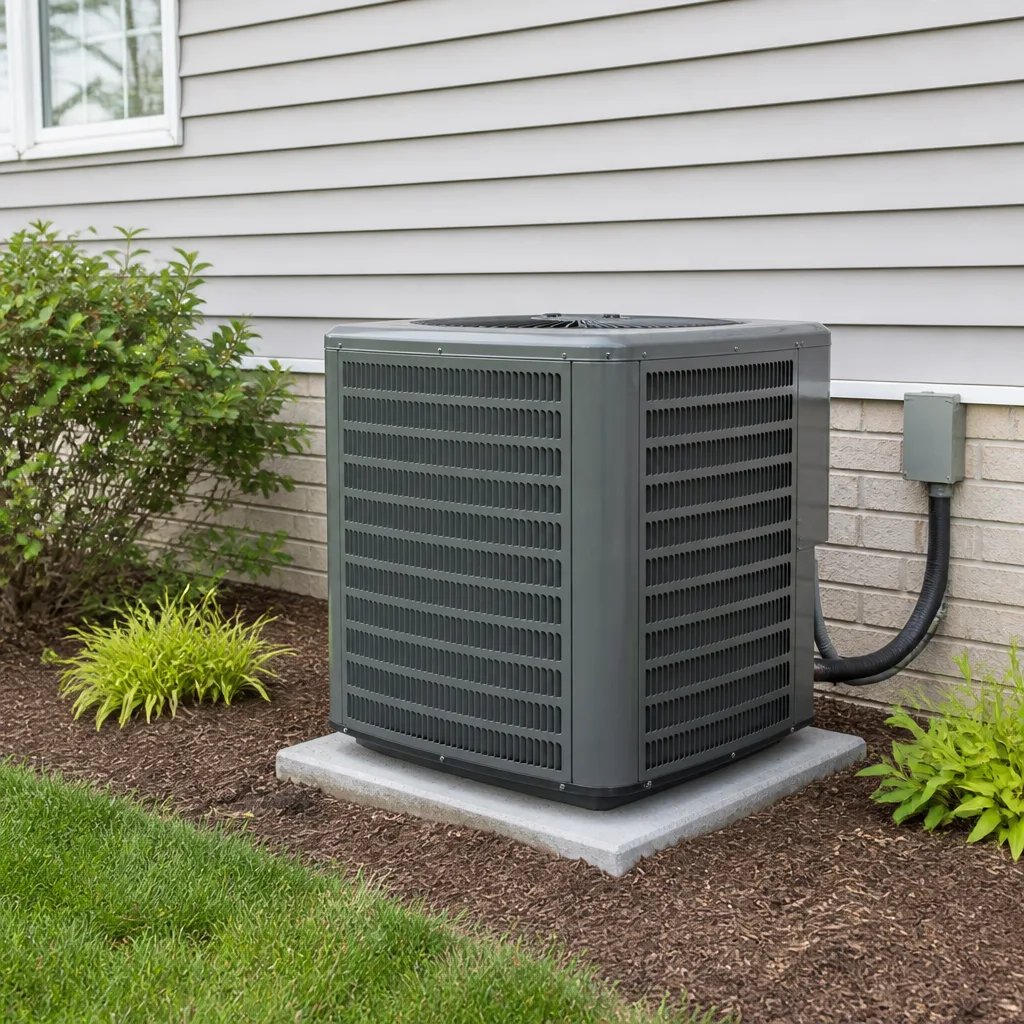
 Before
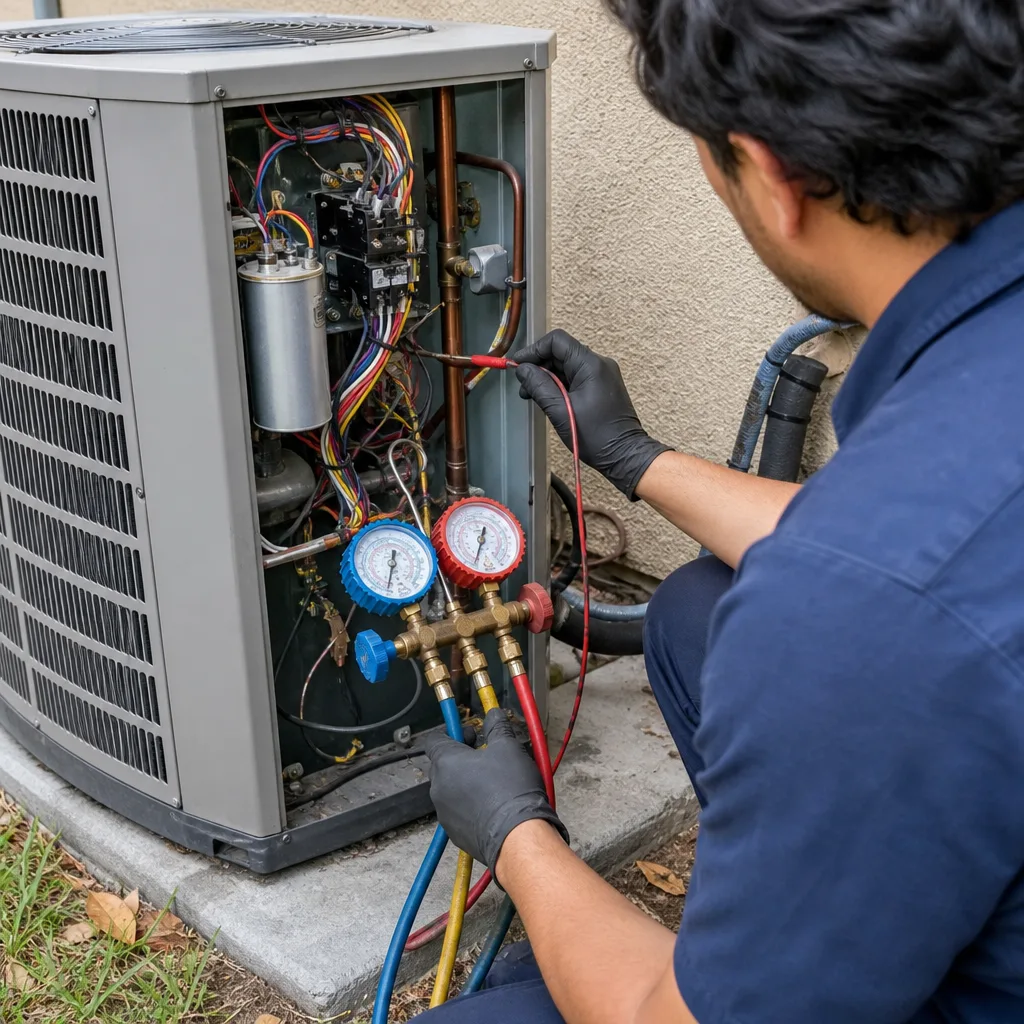 After
After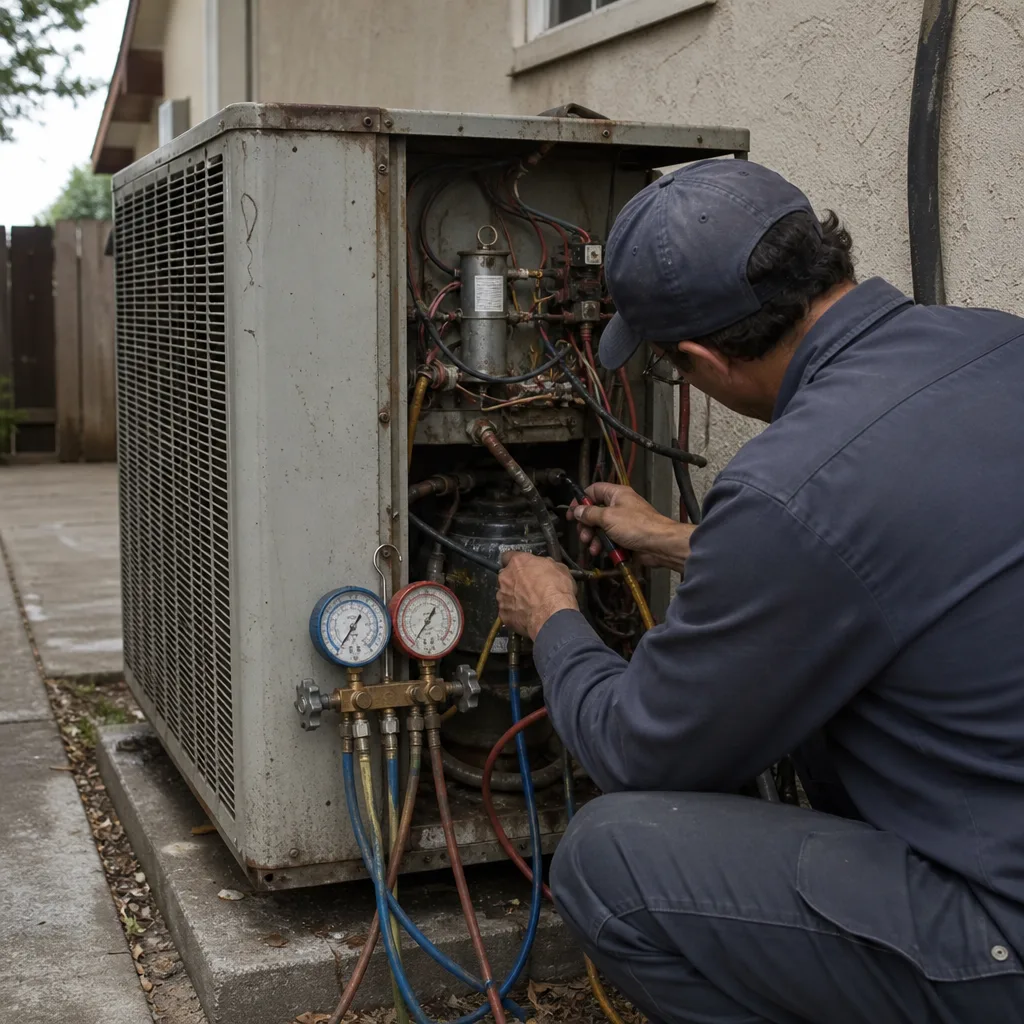 Before
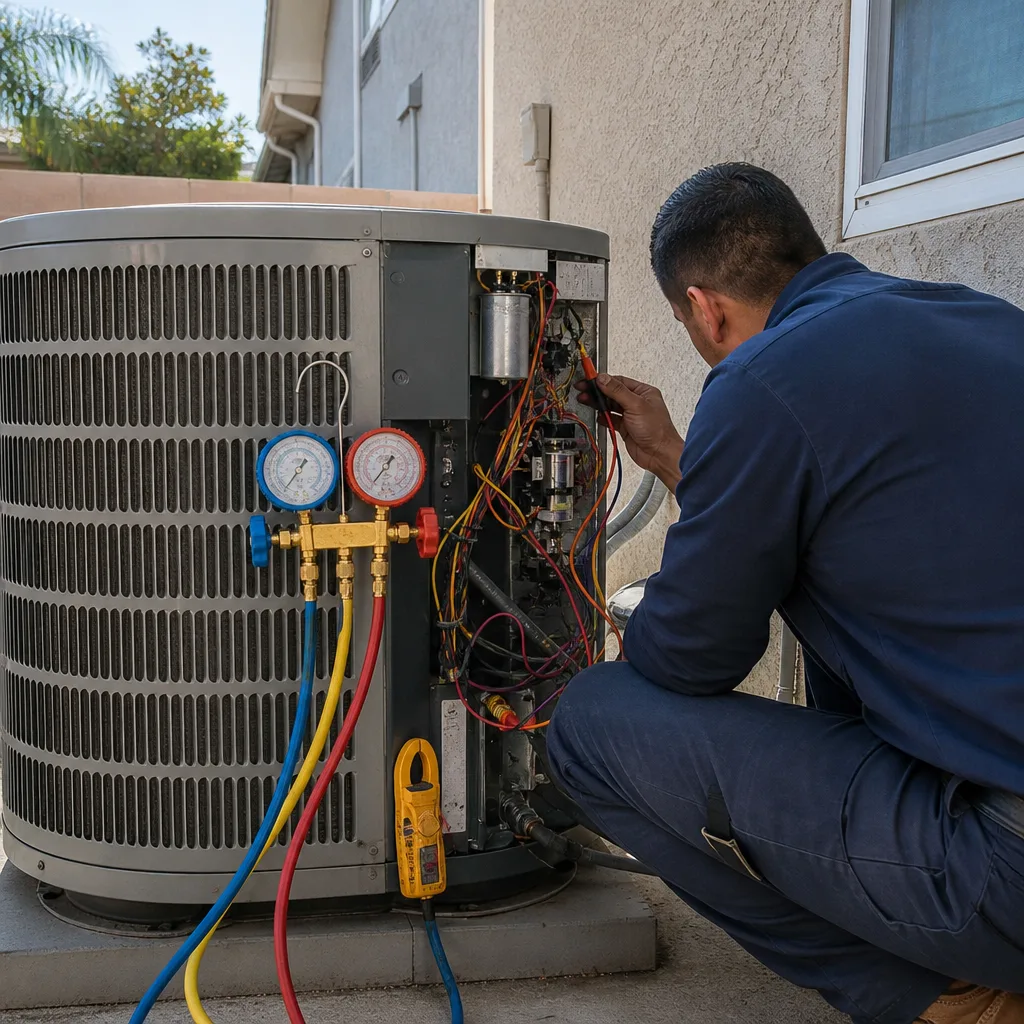 After
After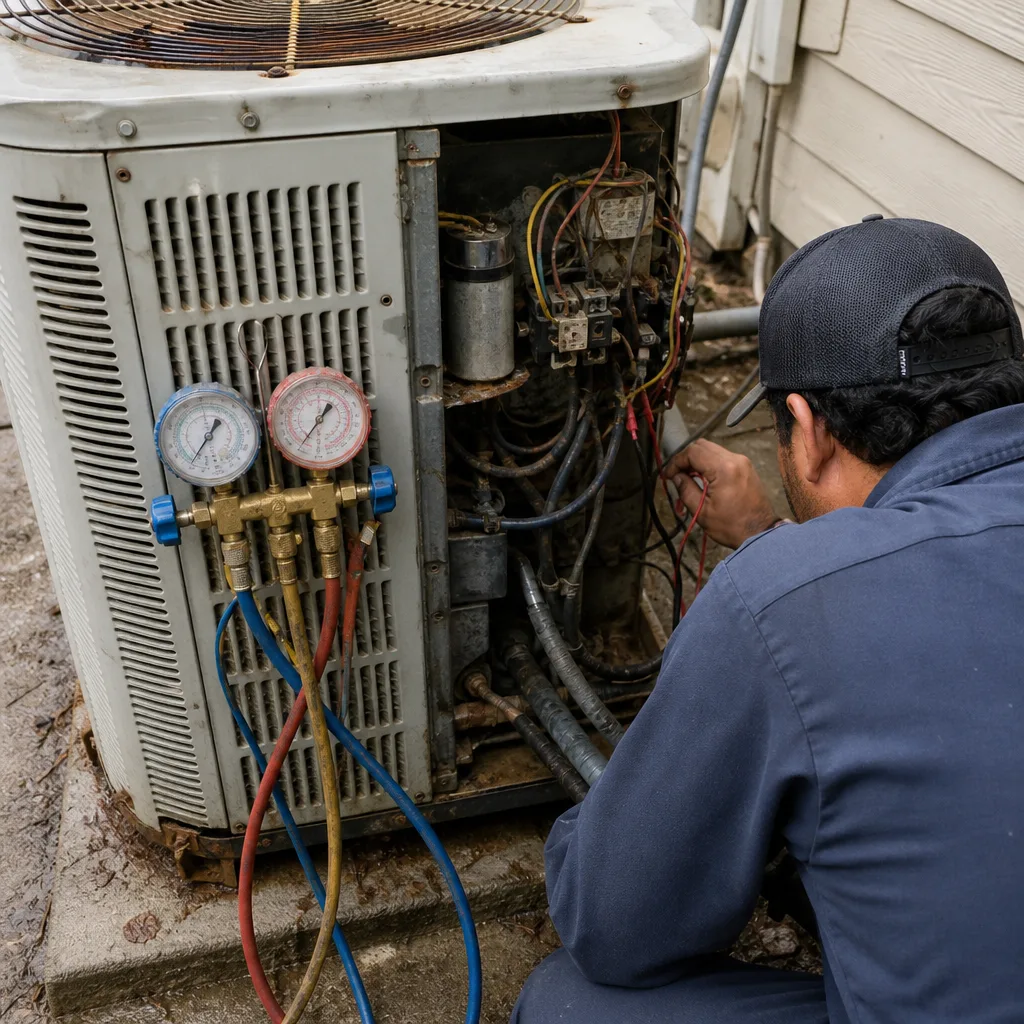 Before
 After
AfterAC Repair Troubleshooting: Common Problems and How to Fix Them
The single most misdiagnosed problem in residential air conditioning is a “bad compressor” that turns out to be a failed run capacitor. The symptoms look nearly identical to an untrained eye: the outdoor unit hums but won’t start, or the fan spins while the compressor stays silent. One diagnosis leads to a $1,500 quote. The other is a $25 part and fifteen minutes of work. In Los Angeles, where a heat wave can push attic temperatures past 140 degrees, knowing which questions to ask before the technician arrives changes what you pay. This guide teaches the diagnostic logic a real technician uses: the order of checks, the branching decisions, and the difference between a five-minute fix and a full system failure. For related reading, see our guide to AC Repair Warning Signs Every Homeowner Should Know.
Quick Answer
Start with the capacitor, not the compressor. Check for visible ice, test your thermostat batteries, verify the breaker and disconnect switch, and measure the temperature difference between supply and return air with a simple thermometer. If the split is below 15 degrees or you see frost on the copper lines, you have either an airflow restriction or a refrigerant charge problem, and both need a licensed technician with gauges to diagnose correctly.
Table of Contents
- The Capacitor-First Rule: The $25 Part That Saves You $1,500
- The Temperature Split Test: Refrigerant vs. Airflow Without Gauges
- Electrical Safety Checks You Can Safely Do Yourself
- Short Cycling: What Your Unit Is Actually Telling You
- How to Document Symptoms Before the Technician Arrives
- Los Angeles-Specific Troubleshooting: Heat, Smog, and Coastal Salt
- Repair or Replace: The Decision Framework
The Capacitor-First Rule: The $25 Part That Saves You $1,500
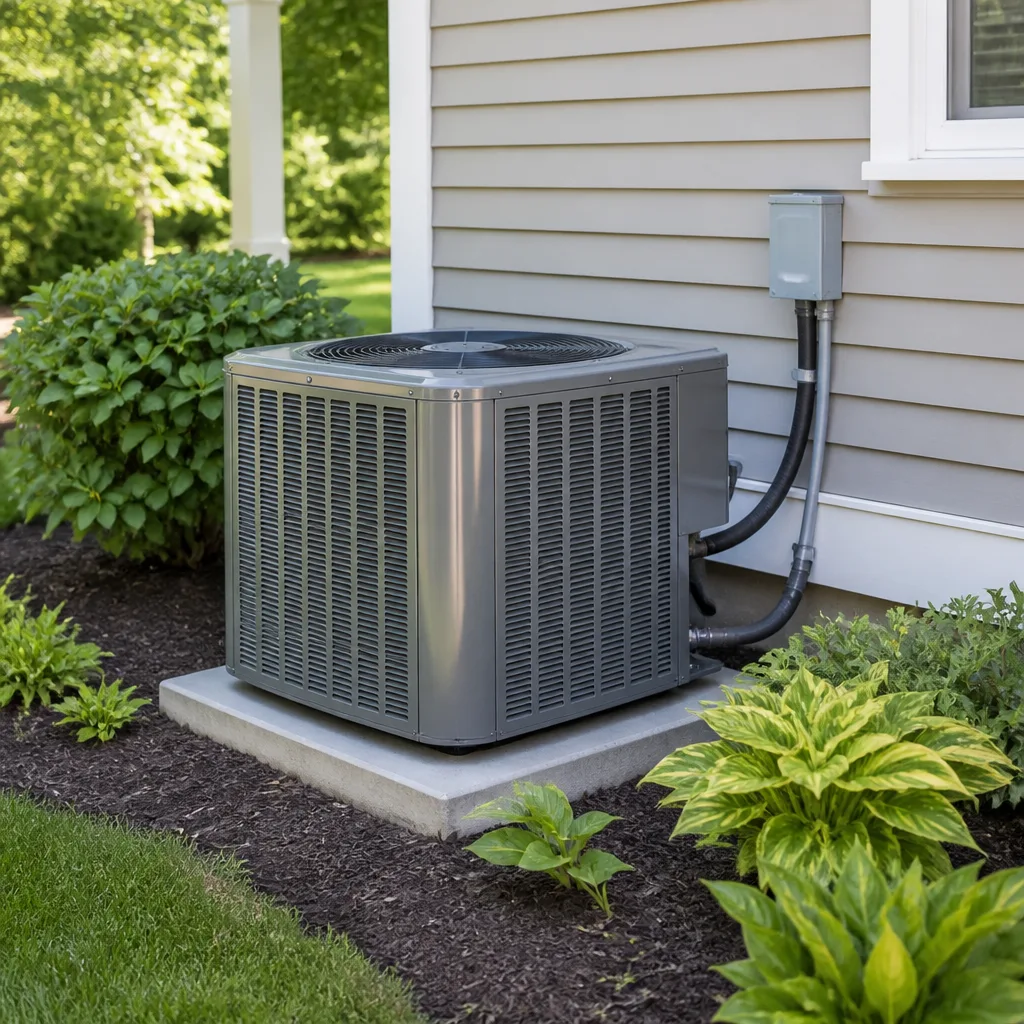
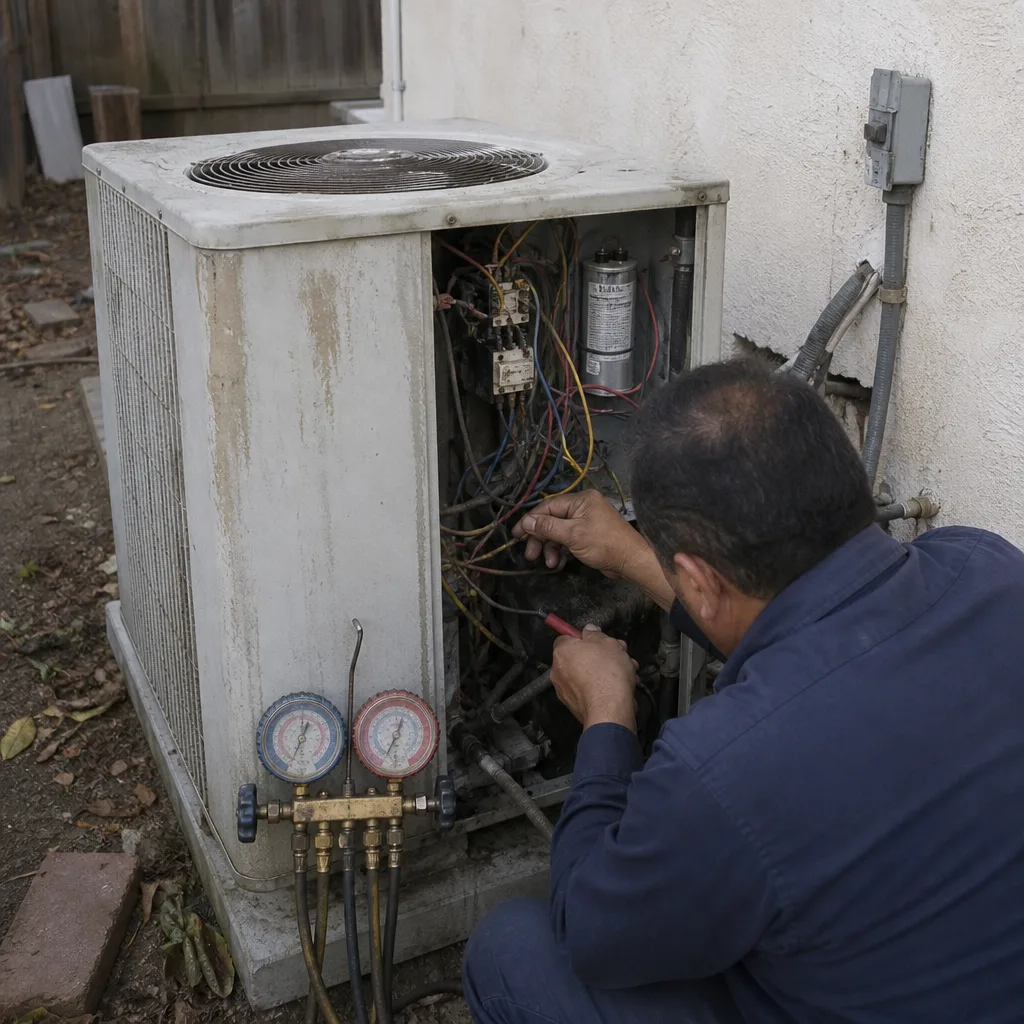
The run capacitor is a small cylinder inside your outdoor condenser unit that stores and releases the electrical charge needed to start the compressor and fan motor. It is the most common point of failure on residential AC systems, and it is the part most frequently skipped by technicians looking for a bigger job. In our Los Angeles service area, capacitors fail faster than they do in milder climates because sustained high temperatures degrade the internal dielectric material, especially during August heat waves when units run continuously.
Here is the diagnostic logic: the capacitor is a $25 part that takes fifteen minutes to test with a multimeter. The compressor is a $1,500 part that takes four hours to replace. Any technician who condemns a compressor without testing the capacitor first is either inexperienced or dishonest. The Garrison Standard we operate under requires written pricing before any work starts, and that includes the diagnostic sequence: capacitor check first, then contactor, then high-voltage supply, then and only then the compressor itself.
How to Recognize a Capacitor Problem
- The outdoor unit makes a low humming sound but the fan does not spin
- The compressor clicks on and off every few seconds without fully starting
- The unit starts on cooler days but fails to start in the afternoon heat
- The top of the capacitor looks swollen or bulging (if you can safely see it)
- The fan spins slowly at first, then picks up speed
If you hear a hum and see no movement, cut power at the disconnect switch and call for service. Do not open the unit. Capacitors hold a charge, and the wrong touch can be fatal. The diagnostic takeaway: if anyone tries to sell you a compressor replacement without mentioning the capacitor, get a second opinion from a technician who follows The Garrison Code.
The Temperature Split Test: Refrigerant vs. Airflow Without Gauges
The single most useful diagnostic tool in your house is a $5 digital thermometer. Technicians call it the “temperature split test” or the “Delta T test.” You measure the temperature of the air entering the return vent, then measure the air coming out of the supply register closest to the indoor unit. The difference between those two numbers tells you whether your system is moving heat properly or struggling against a restriction.
A properly functioning AC system should produce a temperature drop of 15 to 20 degrees across the evaporator coil. If your return air is 78 degrees and your supply air is 58 degrees, you have a 20-degree split, and the system is doing its job. If the split is below 15 degrees, something is wrong, and the direction of the wrong tells you what to investigate.
What the Numbers Mean
- Split of 15 – 20 degrees: System is operating normally. The problem, if any, is likely thermostat settings, dirty filters, or duct leakage
- Split below 12 degrees with normal airflow: Typically low refrigerant charge or a failing compressor valve. This is where a technician with gauges is required
- Split below 12 degrees with weak airflow at the vents: The coil is likely frozen due to restricted airflow. Turn the unit off and check the filter and evaporator coil for ice
- Split above 22 degrees: Airflow is severely restricted, usually a clogged filter, closed dampers, or a failing blower motor
This test saves you money because it tells you whether the problem is refrigerant-related or airflow-related before a technician ever hooks up a manifold gauge set. Refrigerant issues require a licensed technician with EPA certification. Airflow issues are often a filter replacement or a damper adjustment. In Los Angeles, where many homes have filters that go untouched for years, the airflow problem is the more common culprit, especially in older neighborhoods where return ducts were undersized from the start.
Electrical Safety Checks You Can Safely Do Yourself
Before you call for AC Repair services, there are three electrical checkpoints that take under five minutes and eliminate the most common no-power causes. These are safe for any homeowner who can flip a switch and read a label.
- Check the thermostat batteries and settings. A blank screen or a unit that runs but does not cool often traces back to dead batteries or a thermostat accidentally set to “heat” or “fan only.” Replace the batteries, set the mode to “cool,” and set the fan to “auto.”
- Check the breaker at your electrical panel. HVAC breakers are double-pole, meaning two switches connected by a bar. Toggle the breaker fully off, then fully on. If it trips again immediately, stop and call a professional. A breaker that repeatedly trips indicates a short circuit or overcurrent condition, not a fluke.
- Check the disconnect switch at the outdoor unit. Every condenser has a gray metal box mounted on the wall nearby with a pull-out handle or a flip-up cover. If the handle is pulled out or the switch is off, the unit receives no power. Push or flip it back into the “on” position.
If all three checkpoints pass and the unit still has no power, the issue is inside the cabinet, and that means high-voltage wiring, contactors, or control boards. This is where you stop. We have seen homeowner repairs that started with a multimeter and ended with a trip to urgent care. The two most dangerous components in your HVAC system are the capacitor and the contactor, both of which are inside the outdoor condenser, both of which carry enough voltage to stop a heart.
Short Cycling: What Your Unit Is Actually Telling You
Short cycling is a unit that turns on and off every few minutes instead of running in long, steady cycles. Most online guides tell you short cycling means an oversized system or a dirty filter. Those are real causes. But in our Los Angeles experience, the most common cause of short cycling is something most guides ignore: a thermostat that is positioned where it reads the wrong temperature.
A thermostat mounted on a wall that gets direct afternoon sun, or above a heat-generating kitchen appliance, or near a supply register blowing cold air, will trigger the cooling cycle based on a false reading. The unit turns on, cools the immediate area around the thermostat to the set point, and shuts off, even though the rest of the house is still hot. The fix costs nothing: move the thermostat or cover the sensor.
The Short-Cycle Diagnostic Branch
- Is the thermostat the problem? Check for sunlight on the thermostat, proximity to supply registers, or location above heat-generating appliances. Relocate or ventilate if needed
- Is the filter clogged? A dirty filter restricts airflow, causing the coil to ice over, which triggers the system’s low-temperature safety shutoff. Change the filter and let the coil thaw for 2-3 hours before restarting
- Is the system oversized? If the unit was replaced in the last decade without a proper load calculation, it may be too large for the ductwork. This requires a technician to verify static pressure, not just square footage
- Is the refrigerant charge wrong? A low charge or overcharge causes the compressor to cycle on internal overload. This requires gauges and a leak test, and it is not a DIY job
A technical detail worth understanding: a properly sized AC system in Los Angeles runs for 20 to 40 minutes per cycle on a hot day. If yours runs for five minutes and shuts off, the system is not doing the job it is supposed to do, and you are paying for start-up energy that produces no lasting cooling. Start-up is the most energy-intensive part of the cycle, so a short-cycling unit costs more to run than a properly cycling one, even if both reach the same temperature.
How to Document Symptoms Before the Technician Arrives
The fastest way to pay for extra diagnostic time is to hand a technician a list that says “it doesn’t work.” The technician arrives with no information, spends the first hour reproducing symptoms, and bills you for time that could have gone toward the repair. Document the problem and you turn a 60-minute diagnosis into a 20-minute one.
We tell our Los Angeles customers to treat symptom documentation like evidence gathering. The goal is not to solve the problem, it is to give the technician a data trail that narrows the diagnostic path.
- Log the exact time and date of each failure. If the unit stops cooling at 3 p.m. but works again by midnight, that is a specific pattern. Evening recovery suggests a capacitor or thermal overload. Midday failure with no recovery suggests a low charge
- Photograph the thermostat reading. Take a photo of the set temperature and the actual temperature, plus a photo of the mode and fan settings. This eliminates the “user error” diagnostic dead end
- Record what the outdoor unit is doing. Video the condenser for thirty seconds. Is the fan spinning? Is the compressor humming? Is the top of the unit unusually hot? Send the video to the technician ahead of time
- Note any recent changes. A new thermostat, a remodel, moved furniture over a return vent, a new appliance near the thermostat. Every one of these is a clue
- Check the filter before you call. Take a photo of it. A clogged filter is the single most common cause of many AC symptoms, and documenting it clears the obvious first step
This documentation approach makes a licensed technician’s job easier, which makes your repair faster and cheaper. At Dalton Heating & Air, a call where the homeowner has photos, timestamps, and a filter check takes about twenty minutes to diagnose. A call with no information takes an hour or more, and under our system, the diagnostic time is part of what you pay for, which is why we tell every customer to gather evidence before we arrive.
Los Angeles-Specific Troubleshooting: Heat, Smog, and Coastal Salt
Air conditioning in Los Angeles fails for different reasons than it fails in Phoenix or Houston. LA’s combination of inland heat, coastal salt air, and smog creates specific failure patterns that generic guides miss.
In coastal neighborhoods like Santa Monica, Playa del Rey, and Long Beach, salt air corrodes condenser coils and electrical connections faster than inland locations. A unit in Westchester may look fine on the outside while the fins on the coil have turned to white powder and the contactor points have pitted. If you live within three miles of the coast and your unit is over eight years old, coil corrosion is a likely culprit for reduced cooling capacity, even if the system holds a full refrigerant charge.
Inland, the story is different. In the San Fernando Valley, Pasadena, and the Inland Empire corridor, sustained temperatures over 100 degrees push capacitors and compressor windings to their thermal limits. The same unit that runs trouble-free in Culver City fails in Woodland Hills because the ambient temperature around the condenser is ten to fifteen degrees hotter, and heat is the enemy of every electrical component in the system.
Smog also plays a role. the particulate matter in LA air coats evaporator and condenser coils with a fine layer of grime that acts as insulation, reducing heat transfer. A coil that is 30 percent fouled loses roughly 10 percent of its cooling capacity, and the system runs longer to compensate, which accelerates every other failure mode. Annual coil cleaning is not optional maintenance in Los Angeles, it is a lifespan decision.
Repair or Replace: The Decision Framework
The repair-versus-replace question comes up on roughly half of all Los Angeles service calls, and most guides answer it with an age-based rule: replace if the system is over ten years old. For a deeper look at equipment selection, see our article on Choosing the Right HVAC Brand: A Buyer’s Guide for Los Angeles. That rule of thumb is misleading. A well-maintained Trane or Carrier unit can run reliably for fifteen to eighteen years in a coastal climate. A neglected Goodman in a hot valley may be dead at seven. Age matters less than condition and cost.
Here is the framework we use when advising Los Angeles homeowners:
Repair Makes Sense When
- The repair cost is under 30 percent of the system’s replacement value
- The system holds refrigerant without leaking more than a pound per year
- Compressor amp draw is within normal range
- Components like the contactor, capacitor, and fan motor are the failed parts, not the compressor or coil
- The system is under ten years old and has been serviced regularly
Replace Makes Sense When
- The compressor has failed and the system uses R-22 refrigerant, which is phased out and increasingly expensive
- The evaporator coil has multiple leaks and the system is over twelve years old
- Repair estimates exceed 40 percent of replacement cost
- The system is undersized for the home and needs a load calculation correction
- You are planning to stay in the home for another five or more years, and a new heat pump qualifies for IRA rebates
The R-22 factor matters more in Los Angeles than most homeowners realize. Thousands of LA homes still run on R-22 systems installed before 2010, and every year the refrigerant supply shrinks. A recharge that cost $150 a decade ago now runs $300 to $500, and the price keeps climbing. When an R-22 system develops a leak, the repair-versus-replace math tilts quickly toward replacement, especially with federal heat pump incentives currently available.
Common Mistakes to Avoid
- Condemning the compressor before testing the capacitor. This is the single most expensive misdiagnosis in residential HVAC. If a technician tells you the compressor is dead without mentioning the capacitor, ask them to show you the amp draw and capacitor test results. If they will not, get another opinion
- Replacing the thermostat without checking the wiring. A new thermostat will not fix a broken or corroded low-voltage wire. In Los Angeles, where many systems are decades old, the thermostat wiring is often the real culprit, and it is a fifteen-minute repair
- Adding refrigerant without finding the leak. Refrigerant is not consumed like gasoline. If the system is low, it is leaking, and topping it off without repairing the leak is an expensive band-aid. It is also against EPA regulations for systems with leaks above a certain threshold
- Ignoring a frozen coil and just waiting for it to thaw. A frozen coil means restricted airflow or low charge. Thawing it without fixing the cause means it will freeze again, and repeated freeze-thaw cycles weaken the copper and shorten the coil’s life
- Closing supply registers in unused rooms to save energy. Closing registers raises static pressure in the ductwork, which reduces airflow across the evaporator coil and can cause it to freeze. In LA ranch homes with long duct runs, this is a common and self-inflicted problem
- Using a bigger filter for better filtration. A filter with too high a MERV rating restricts airflow more than the system was designed for. If your system calls for a MERV 8 and you install a MERV 13, you are choking the airflow and reducing cooling capacity
When to Call a Professional
Call a professional when the problem involves refrigerant, any component inside the electrical cabinet, or any symptom that repeats after you have done the basic checks. Refrigerant leaks require EPA-certified technicians with the right recovery and charging equipment. Electrical faults inside the condenser present a lethal shock hazard. A compressor that hums but does not start is not a test-your-luck situation. If the breaker trips twice, stop resetting it and call. If you see frost or ice on the copper lines, shut the system off and call. Dalton Heating & Air offers free estimates in Los Angeles for AC repair, heat pump installation, and furnace repair, and every job includes a written price before any work begins. Visit our blog for more guides & resources. Call (361) 306-9515 for a straight answer, even if you decide to go another direction.
Frequently Asked Questions
An AC system that runs constantly without cooling the house typically has one of three problems: a dirty or frozen evaporator coil, a low refrigerant charge, or a failed compressor valve. Start with the temperature split test. If the split is below 12 degrees and airflow feels normal, the problem is likely refrigerant-related and requires a licensed technician with gauges to diagnose correctly. In Los Angeles, this is also a common symptom of a condenser coil that has been fouled by smog particulate and needs cleaning.
Most AC repairs in Los Angeles run $150 to $450 for common issues like capacitors, contactors, and fan motors. Compressor replacements start around $1,500 and can exceed $2,500 depending on the system. Evaporator coil replacements run $1,200 to $2,000 including labor. The wide range reflects the difference between a $25 capacitor and a $2,500 compressor, which is exactly why the diagnostic order matters. Call (361) 306-9515 for a written estimate before any work begins.
You can safely handle filter changes, thermostat battery replacement, breaker resets, and basic documentation. You cannot safely handle anything inside the condenser cabinet, including capacitors, contactors, compressors, or refrigerant work. The capacitor alone holds enough charge to kill you, and refrigerant work requires EPA certification. The best DIY move is to do the safe checks, document the symptoms, and call a licensed professional who will give you a written price before starting.
In Los Angeles, a well-maintained AC system lasts 12 to 18 years, with the shorter lifespans in hot inland areas like the Valley and longer lifespans in coastal neighborhoods. The main variables are maintenance frequency, coil cleanliness, and whether the system was sized correctly during installation. Systems that run for months at a time during brutal heat waves fail faster than units near the coast, which cycle less frequently.
An AC unit that turns on and off every few minutes is short cycling, which usually means one of four things: a thermostat reading a false temperature, a clogged filter causing the coil to freeze, an oversized system, or a refrigerant charge issue. Short cycling wastes energy because start-up draws the most power, and it shortens the life of the compressor by subjecting it to repeated thermal stress. In Los Angeles, thermostat placement near sunny windows or heat-generating appliances is a frequent and free-to-fix cause.
Repair when the cost is under 30 percent of the system’s replacement value and the failed component is something like a capacitor, contactor, or fan motor. Replace when the compressor has failed on an R-22 system, when the repair estimate exceeds 40 percent of replacement cost, or when the system is undersized for the home. In Los Angeles, the R-22 phaseout makes many pre-2010 systems economically difficult to justify repairing once a major component fails. Dalton Heating & Air services all nine major residential HVAC brands including Carrier, Trane, Lennox, Goodman, Rheem, York, Daikin, Bryant, and American Standard, so we can advise on either repair or replacement without a brand bias.
The Bottom Line
AC troubleshooting is a branching decision tree, not a symptom list. Start with the capacitor, check the temperature split, verify the basics, and document what you find before you call. The most expensive repairs in Los Angeles are the ones that were misdiagnosed early, and the most preventable expense is the compressor replacement sold to a homeowner whose real problem was a $25 part. Dalton Heating & Air operates under The Garrison Standard, which means every repair comes with a written price before work starts, a written guarantee on the repair, and a free return visit if the repair fails within the guarantee period. If your system is down and you need a straight answer, call (361) 306-9515. If you want to understand more about how we work, start at the Dalton Heating & Air home page, or read about our AC Repair in Los Angeles, Heat Pump Installation in Los Angeles, and Furnace Repair in Los Angeles services.
Written by Marco Benitez, Owner at Dalton Heating & Air, serving Los Angeles since 2003.